BLACKBURNS X-TRUDE COMPONENT & ASSEMBLY GUIDE
17
STAGE 2
Assemble
Outer Frame
STAGE 3
Fabricating
Sections
STAGE 4
Tape Application
Hanging Brackets
(if required)
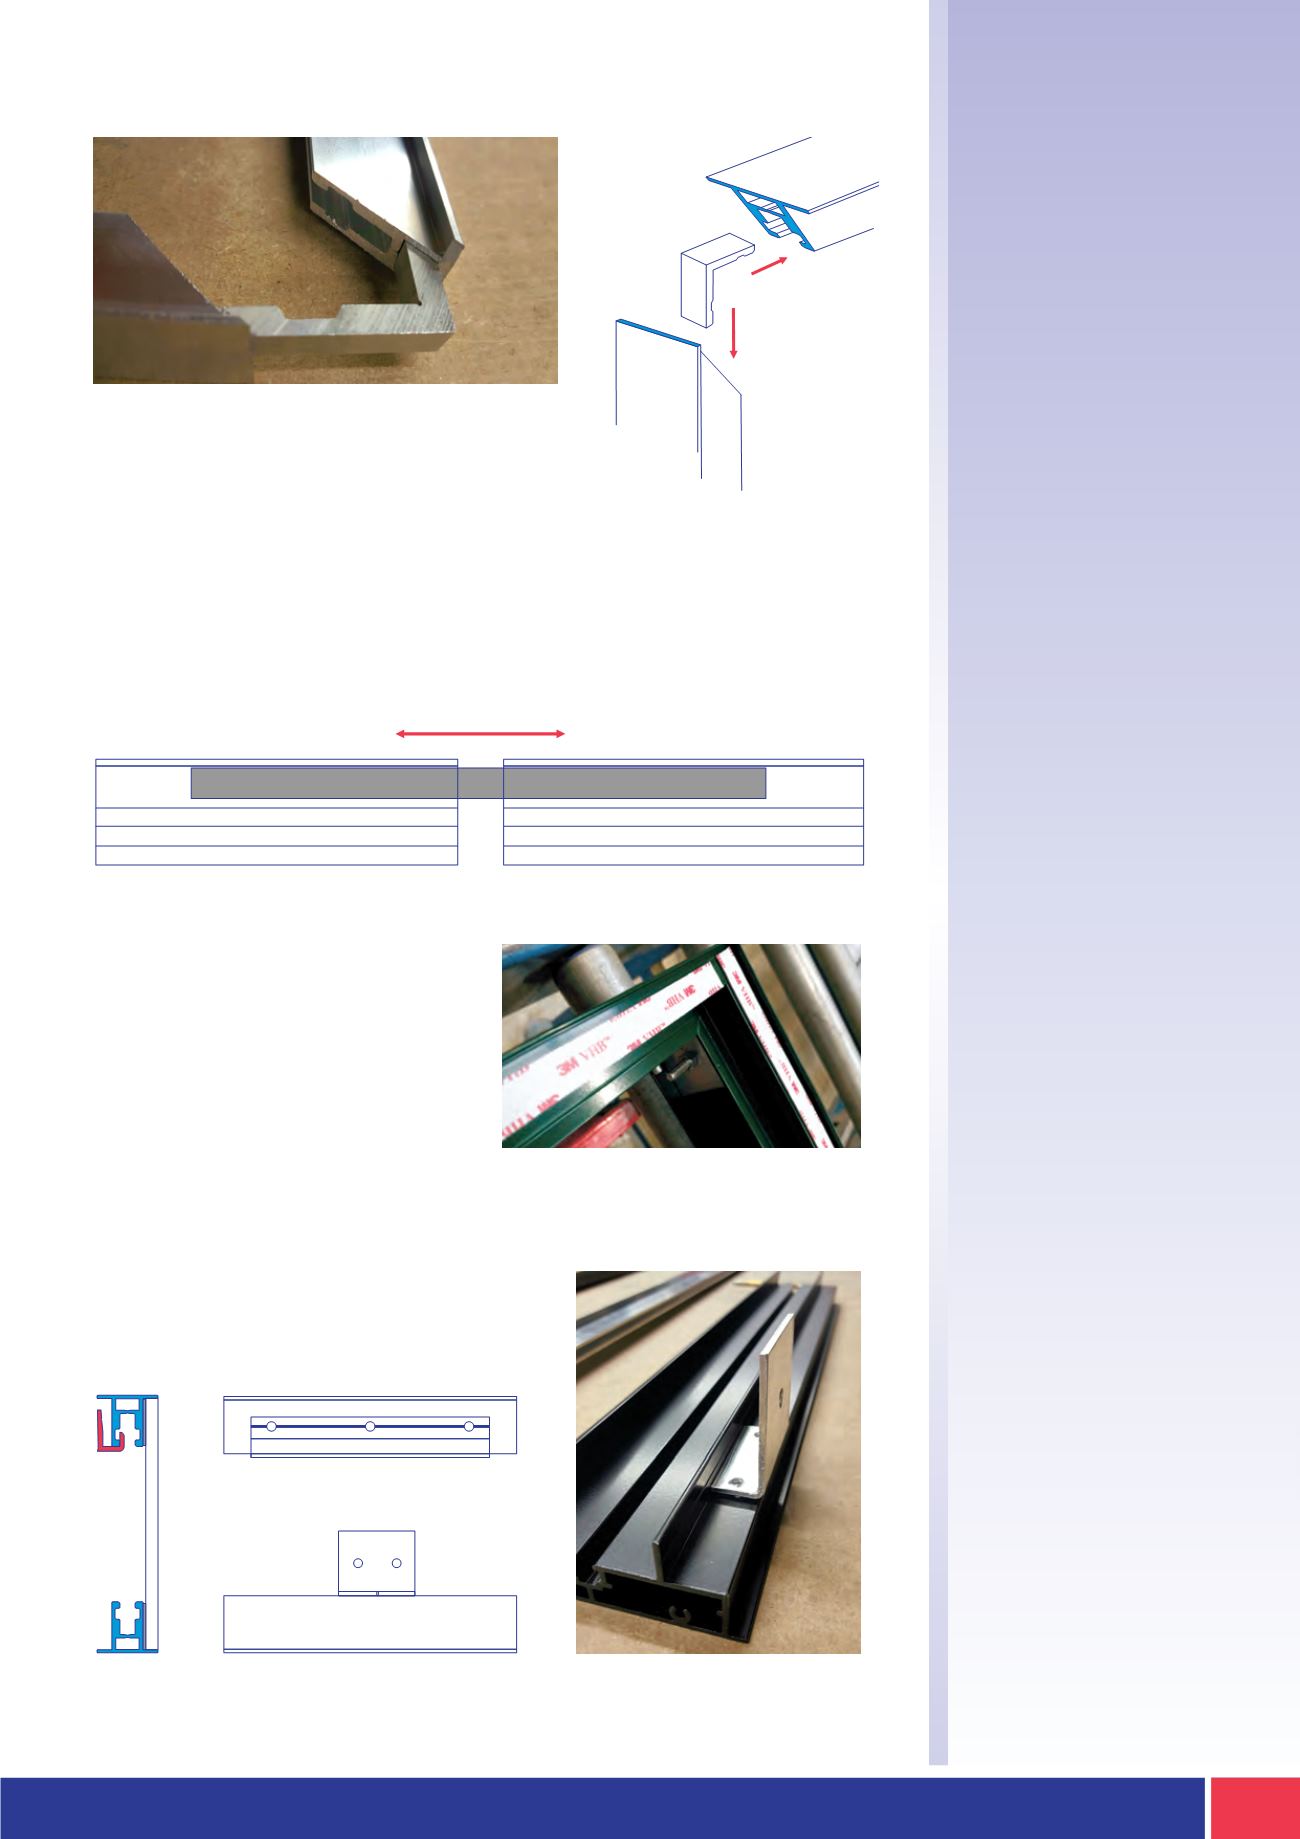
The outer frame is then assembled using the
matching pre-cut cleats. The cleat slides into the
allocated slot and then is secured into place with
adhesive or suitable fixing.
To install the frame back to a wall, use the
BXF-25HB hook bracket.
When a frame is supplied in sections you introduce the required
BXF-JS 4.5mm aluminium joining strip. The strip slides into the extrusion
frame and is secured with a rivet into one section only. The second side is
secured on site during installation with a self-tapping screw.
When the frame is fully fabricated
it can then be sent for painting.
The frame should then be primed and
a suitable double sided tape**
applied to the entire perimeter frame.
**
PLEASE CONSULT YOUR TAPE SUPPLIER FOR GUIDANCE ON SELECTING
THE CORRECT TAPE AND APPLICATION PROCESS


